Backup and restore on a Computer is the procedure of copying confidential data to protect it from cyberattacks and other disruptions. It also restores files or settings when you lose them. Learn the steps mentioned in this article to backup and restore on Windows 11, connect the drive, and restore the backup settings and files again by selecting the appropriate “Format and repartition disks”. Check for “Only restore system drivers” and click on the Finish option.
How to create a Backup on Windows 11?
To create backup and restore on Windows 11, you need to follow the step-by-step guide:
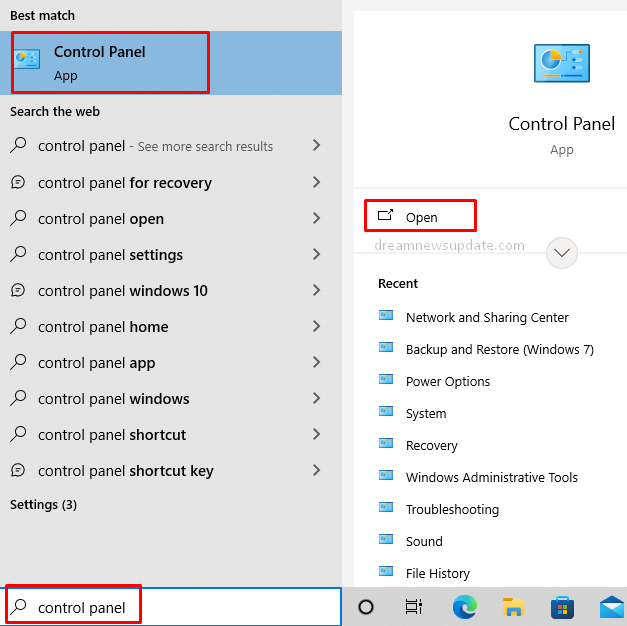
- Click on the start menu and open the Control Panel.
- Select the “System & Security” option.

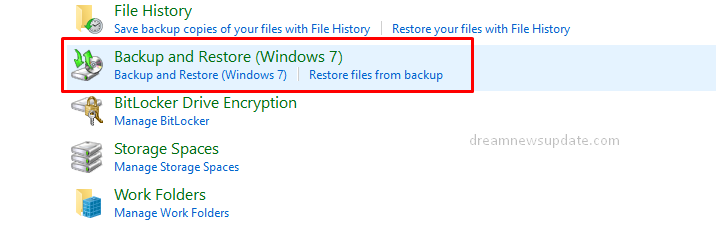
- Select the Backup and Restore option.
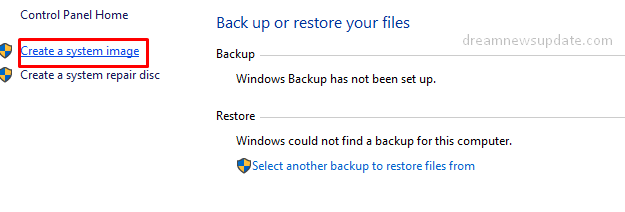
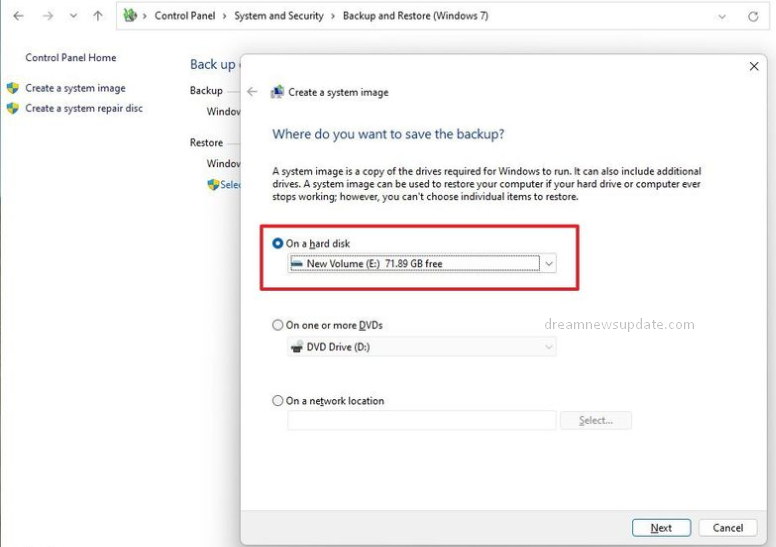
- Click on the “System Image Backup” option and select the “On a Hard Disk” option.
- Select the disk location on Windows 11 and click on the Next option.
- Select any additional hard disks or drives to include in the backup.
- Click on the Next option and then on the “Start Backup” option.

- It will start backing up all the confidential data.
How to restore a Backup on Windows 11?
To backup and restore on Windows 11, you need to follow the step-by-step guide:
- Turn on your device and connect your USB bootable drive.
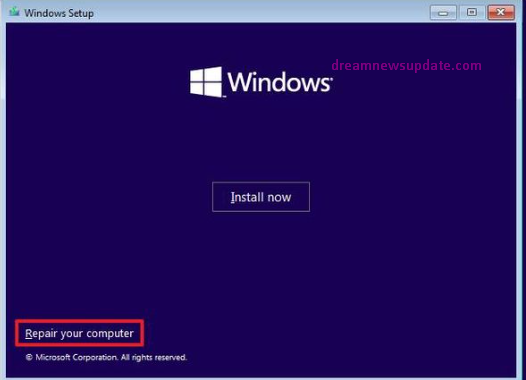
- Press any key to continue the procedure, and on the “Windows Setup” page, click the Next option.

- Click on the “Repair your computer” option.
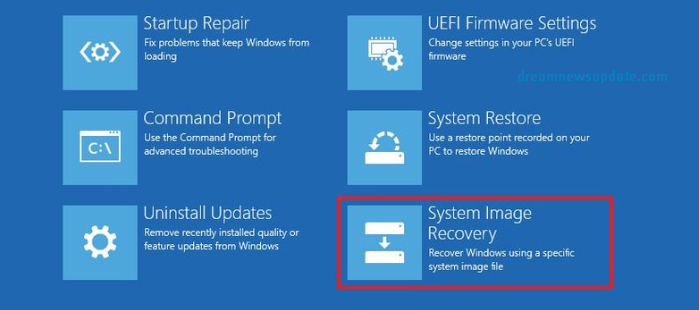
- Select the Troubleshoot option and then the “System Image Recovery” option.
- Select the Windows version and select the “Use the latest available system image” option.
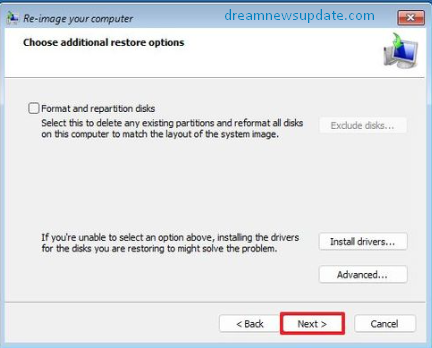
- Click on the Next option and select “Format and repartition disks”.
- Check for the “Only restore system drivers” option.
- Select the next option and then the Finish option.
More Links: How to create Backup and Restore on Windows 10